Showing posts with label zipped ladder stitch join. Show all posts

Friday, 19 December 2014

PATTERN: Double Spiral Clutch

Hello everyone! 

You're lucky enough to have me twice this week, as Anne is on holidays in Sweden for her birthday :) Comment with some birthday love for when she gets home!

We really do appreciate your reading our little blog, especially at this very busy time of year. Your views, likes and comments give us a little thrill every time :) 

For the last week or so I've been dreaming about what to do with my Double Spiral Square Motif. Afghan? Too time consuming to be able to blog about today. Market bag? Too many colours to choose from, plus I want to make a nice big one :P Bright pink and black clutch? BINGO! 

Here is how I made it, in very basic terms. I would also love to hear what you are thinking of doing with this motif! 

Queue or favourite this pattern for later on Ravelry here: http://www.ravelry.com/patterns/library/double-spiral-clutch 

-----------------------------------------
PATTERN: DOUBLE SPIRAL CLUTCH
-----------------------------------------

Yarn: 8 ply 100% acrylic, two colours (Pink Variegated and Black)
Hook: 3mm

Step 1

Make 6 Double Spiral Square Motifs, 3 with Pink Variegated as Colour A and Black as Colour B, and 3 with the colours reversed.


Step 2

Stitch motifs together in groups of 3. I used a zipped ladder stitch (tutorial here) so that the joins were invisible, and the motifs sat squarely next to each other. You could definitely whip stitch or crochet the motifs together if you want to get a different kind of look :)


Step 3 

2 rows of single crochet (US terms) in Black around each panel of 3 motifs. I continued using the same cornering technique as in the motifs, alternating (2sc, 1hdc) (1hdc, 1sc) and (1sc, 1hdc) (1hdc, 2sc) in the hdcs on each corner.


Step 4

Make strap: Foundation single crochet enough stitches to get a strap length that suits you. Remember the strap goes all the way around the bag. 

If you're not comfortable with the foundation single crochet stitch, go up to a 4mm hook and do enough chain stitched to get a strap length that suits you. 

Join to first fsc, ch1 and sc all the way around. Do another rows of sc in black (1fsc row, 2sc rows or 1ch row, 4sc rows in total). Change colours, do two rows of pink variegated sc. Change colours again, and do 4 rows of sc in black. Finish and weave in ends.


Step 5

Pin strap to motif panels, making sure the join in the strap is at the bottom of your bag. Slip stitch motif panels to strap with pink variegated yarn. Weave in all your ends, and ta-dah! A Double Spiral Clutch!


Just the right size for two of my favourite books :) 


I wish you all a very merry Christmas, and hope that you are able to rest and relax a bit over the holidays! I'll be back before New Years with an update from the lake :)

Wednesday, 12 November 2014

Top 5 Crochet Techniques and Tricks

Although I've had a very long crochet career, learning how to do chains almost as soon as I could hold a hook, for most of that time my repertoire has been limited to granny squares. These poor old afghans are now coming apart due to bad knots, wonky joins and of course heavy use.

In the last year or so, my crochet capacity has exploded! I can do all sorts of crazy things, and with the help of the internet, I can make my crocheted items look neater and last longer :) For today's blog post, here is a roundup of my 5 top Crochet Techniques and Tricks (in no particular order) that have made all the difference to my work over the last year!

--------------------------------------------------
TOP 5 CROCHET TECHNIQUES AND TRICKS
--------------------------------------------------

#1

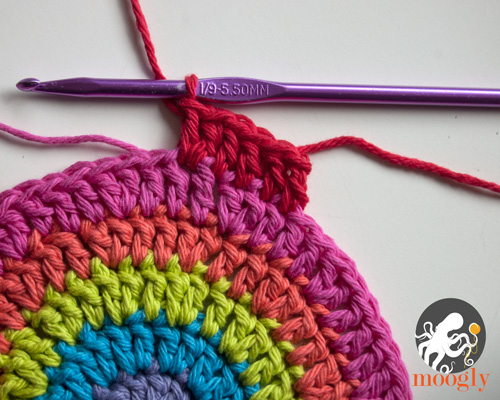
Standing Stitches for Starting New Colours

Hate that "Join new colour, 3ch (counts as first dc)" instruction? Me too. Discovering the Standing Stitch technique has made my work so much neater and with fewer knots, and it can be adapted to ANY stitch! Need to start with a triple treble crochet? No problem! 


Here's an excellent tutorial from Moogly on how to do a standing dc stitch: 


#2

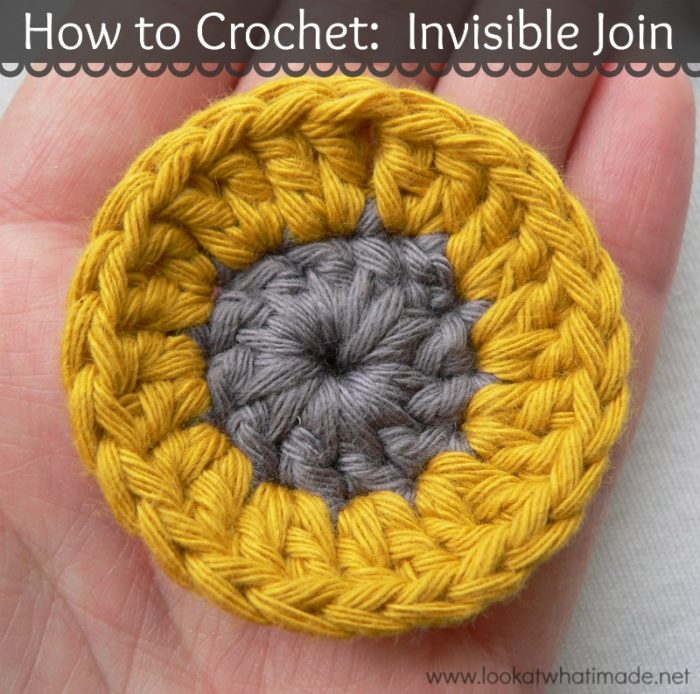
Invisible Join for Crochet in the Round

To me, the obvious "slip stitch into first dc, cut yarn and pull through" joining in work just looks so ugly now that I've learned how to do an invisible join. I still do that where a piece might come under strain (and when I'm too lazy to finish off ends properly and securely), but for anything on display? This is the way to go!


Dedri at Look What I Made has an excellent tutorial:


#3

Invisible Decrease

I'm sensing a theme here... but the invisible decrease is just so wonderful for anything amigurumi (including the little giraffe ears and horns for my Heidi Bears animals)! No more weird stretchy holes for me!


For a fantastic tutorial (pictures, words, videos, right handed and left handed), head over to Planet June:


#4

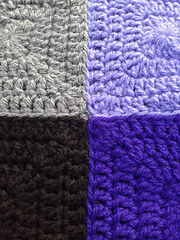
Zipped Ladder Stitch Join

If you're looking for a way to join squares for an afghan (or anything else really) where you want to almost pretend that they are joined by magic, this is the join to use! I use this for my Chunky Fitted Wristwarmers pattern, as it makes the join look so neat, and it's reversible! 


Linda Davie has an excellent free tutorial available on Ravelry, and it even covers how to cope with corners!


#5

Chainless Foundation Stitches

I know this is my tutorial, but this way of starting a project was just such a revelation and improvement on trying to work in tiny chains, and managing tension, and blah blah blah. You can do any stitch using the same method, and even irregular starting rows such as for a ripple afghan!


I have a tutorial for half double crochet, but as I said above, the same technique can be used for any starting row stitch!


Do you have any crochet techniques that you just couldn't live without? Let us know in the comments!